
Shutter speed, aperture and ISO are the three fundamental settings when using any DSLR camera. So what are they and how do they work both on their own and together? Firstly we will look at each individually.
Shutter speed – This is fairly self explanatory. It is the speed at which your shutter works within your camera. The shutter starts closed, opens exposing the sensor then closes again. The longer/slower the shutter speed the more light the sensor will receive. A fast shutter speed will allow you to freeze frame a moving subject, but if the environment is poorly lit then a fast shutter speed may not be appropriate without sacrificing quality elsewhere. With slower shutter speeds that let in more light you then have an issue regarding both motion blur and camera shake. These are often confused but are two separate issues.
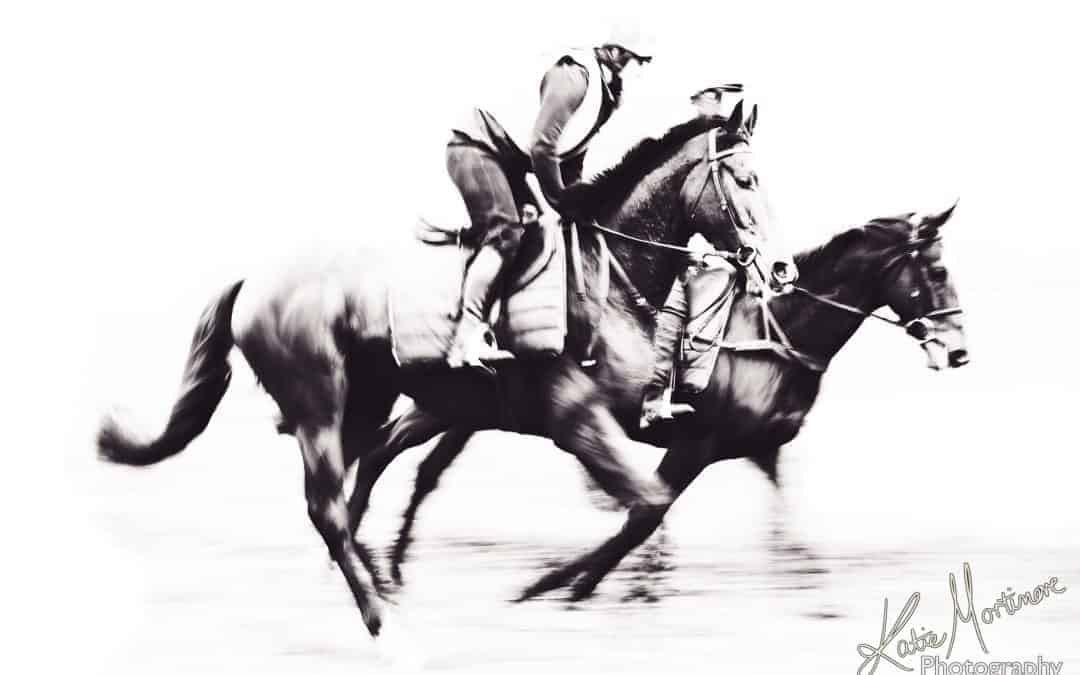
Motion blur is movement from the subject in your photo. The speed when motion blur starts to become apparent depends on the speed and way it is travelling and your ability to ‘track’ the subject. If you can track/pan a subject successfully moving across the frame, you will be able to freeze frame the subject at least in part but be left with a blurred background. With horses due to the nature of their movement with a slow shutter speed the legs will blur first then the neck and head as you get slower. With other subjects like cars, with successful panning you can freeze frame everything except the wheels even when travelling at high speed with a low shutter speed as the shape of the car does not alter other than the wheels turning. Motion blur is not necessarily a bad thing though, it tells a story. If you freeze frame a car it could just be sat stationary on the tarmac, if though you have some movement either in the background or even just the wheels, it tells the viewer that the car was moving. With horses a lot of photographers like to freeze frame the horses but I like to see a small amount of movement in the limbs even if just a hint of a hoof moving as it tells the story of what’s happening. The slowest shutter speed you can get away with will very much depend on the speed the subject is travelling, your tracking skills and how much blur you want in the background. My best advice is to experiment! The featured image on this post was taken at 1/25 of a second of horses galloping. I was able to keep the head in focus (as head position matched my tracking) whilst the rest of the two horses and background have motion blur. This is an extreme example but I like it!
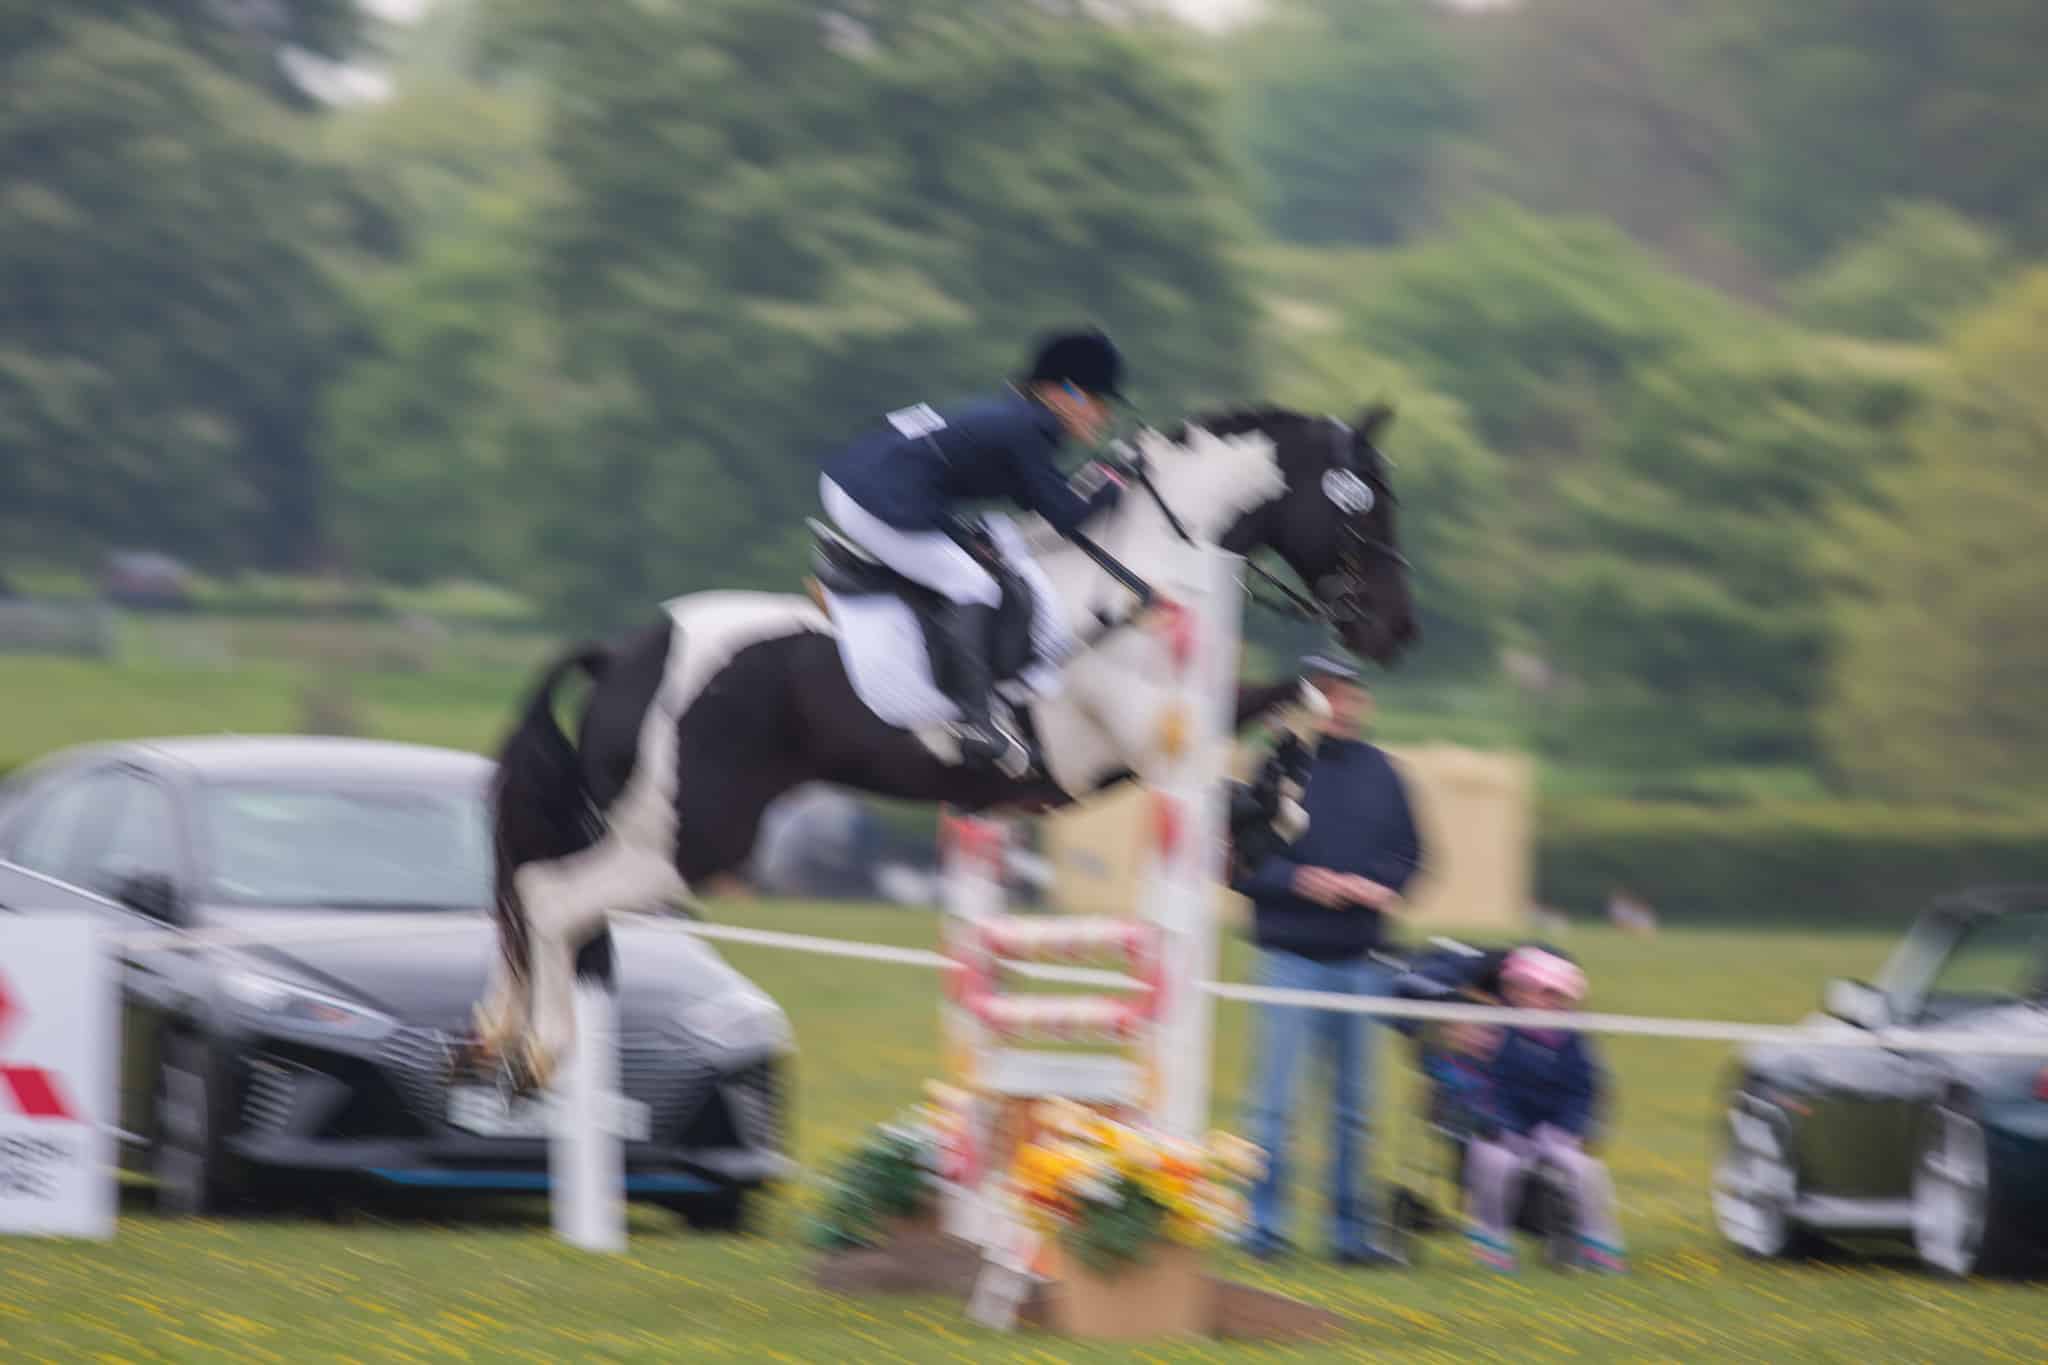
An extreme illustration of camera shake. People don’t shoot at 1/125 sec when using a 400mm!!
Camera shake is movement created by you the user of the camera. However still you think your hands are there will be a degree of movement, even from just depressing the shutter button. The basic rule with camera shake is that as long as your shutter speed is faster than the focal length you should be ok. For example if shooting with a 200mm lens your speed should be 1/200 sec or faster, but is using a 30mm you could be as slow as 1/30 sec on the presumption you have stable hands. This is because of the degree of movement has a smaller affect on the image through the viewfinder the wider the lens. If you think about it if you are shooting at 20mm if you take a photo then tilt your lens up a single cm then take another photo they will look near identical. Do the same at 200mm and there will be quite a large difference in the photo. Do the same again at 400mm and the frame will be completely different. Modern DSLR software helps eliminate camera shake hence being able to go down to as low as 1/20 at times if you have stable hands. The more expensive Canon lenses have IS (Image Stabilisation) and Nikkor VR which also assists and generally allows you to drop a further stop slower than you would previously whilst still preventing camera shake. Other brands have their own stabilisation systems on some lenses that vary in name from brand to brand.
The best way to eliminate camera shake is to use a tripod (making sure to turn off IS on the lens if applicable) but this will limit your ability to track a subject which can increase motion blur so is only really suitable for long exposures (star photography) still life images and landscapes. A good intermediary is a monopod, you will have some limitations still with tracking but once you are used to one, you will have a reasonable amount of freedom and gain yourself a stop or two.
I can hear a few of you now going “Stop? What’s a stop?”. A stop is one turn of the dial be it for shutter speed, ISO or aperture. You will note on most DSLRs the speeds are roughly half/double that of the previous so 1 second, 1/2, 1/4, 1/8. Occasionally slightly more or less as the next stop is 1/15. But even though the gap changes each time the difference between each is called a ‘stop’. On most cameras the default settings allow you to select not just ‘stop’ values but also either half or third values. So for example if set to half values you will see 1/3 in between 1/2 and 1/4.
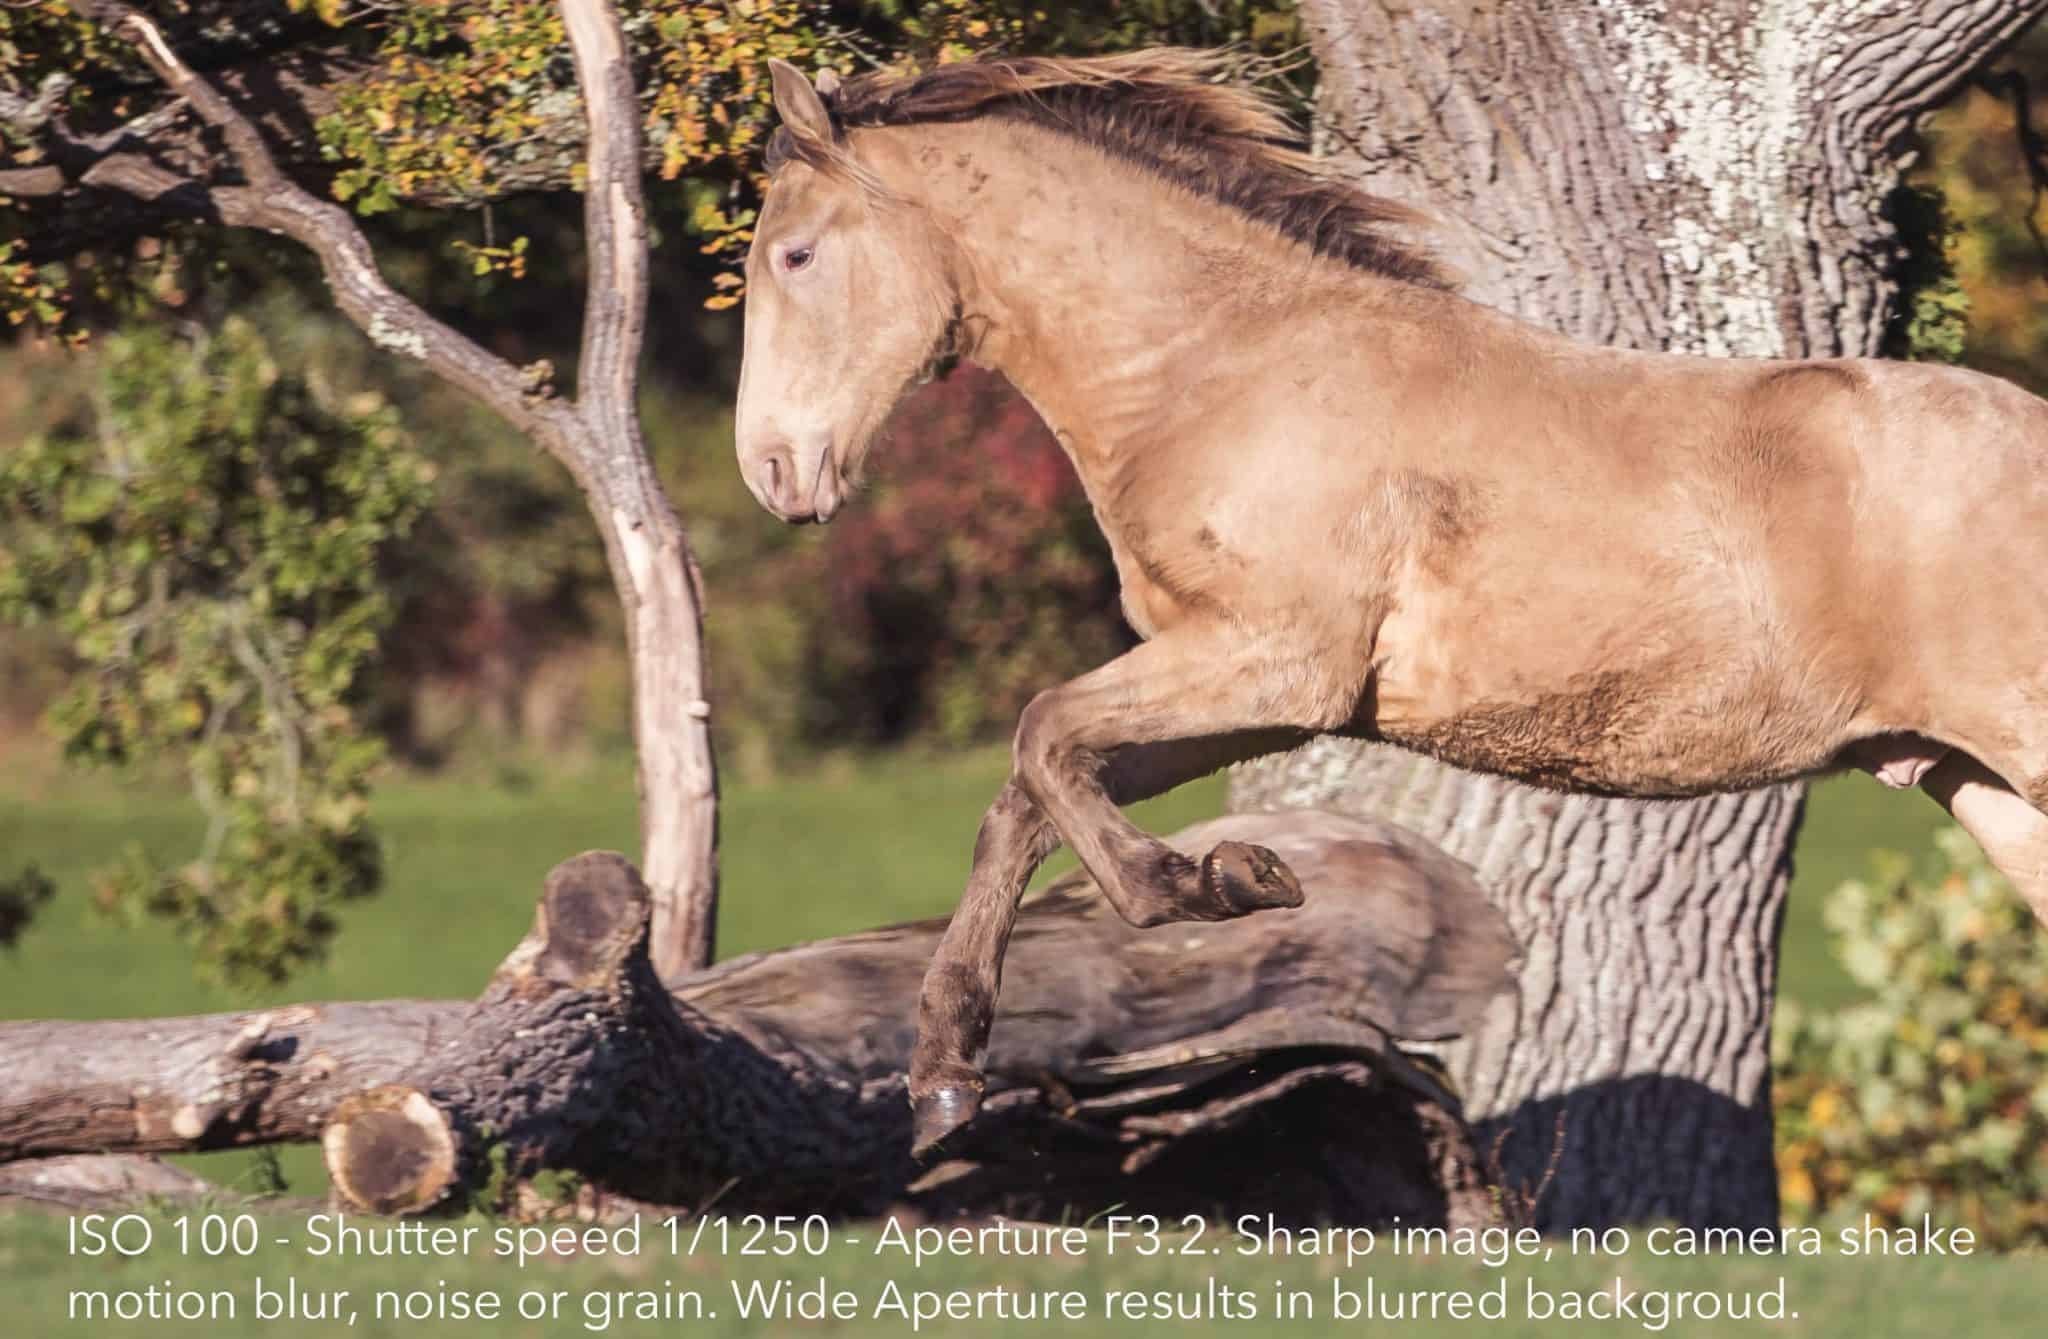
ISO 100 – Shutter speed 1/1250 – Aperture F3.2. Sharp image, no camera shake motion blur, noise or grain. Wide Aperture results in blurred backgroud.
Aperture – The best way to explain aperture is to liken the lens to your eye. Inside the lens are discs which open and close to let in more or less light just like your iris does in your eye. When it’s dark your iris contracts so your pupil becomes larger letting in as much light as possible. When it’s bright sunshine your iris expands making your pupil very small to limit the light entering your eye. The same happens in your lens. The discs open wider or narrower as required. Generally most lenses have a narrowest/high aperture of F32 but the widest /lowest a lens go will depend on the quality of the lens. Generally F2.8 is very high quality but lenses can go as low as F1 but they are very rare and are fixed length lens (i.e. one focal length of say 50mm). In addition to letting in more/less light changing the aperture also changes the focal depth of field. If shooting at F32 the focal depth of field will be huge. So if focusing on an object in the foreground almost all the background will be in clear focus as well. When photographing my studio lit portraits I tend to shoot anywhere between F13-F22 to ensure all the details of the subject are in focus. When photographing at the F2.8 end of the aperture scale though the focal depth of field will be very shallow. This will mean if you photograph an object at the very least the background will be out of focus but depending on your proximity to the subject and focal length it could mean that say the subject’s eye is in focus but their ears are not! You can also create beautiful Bokeh (read my blog on this subject) with a wide aperture lens.
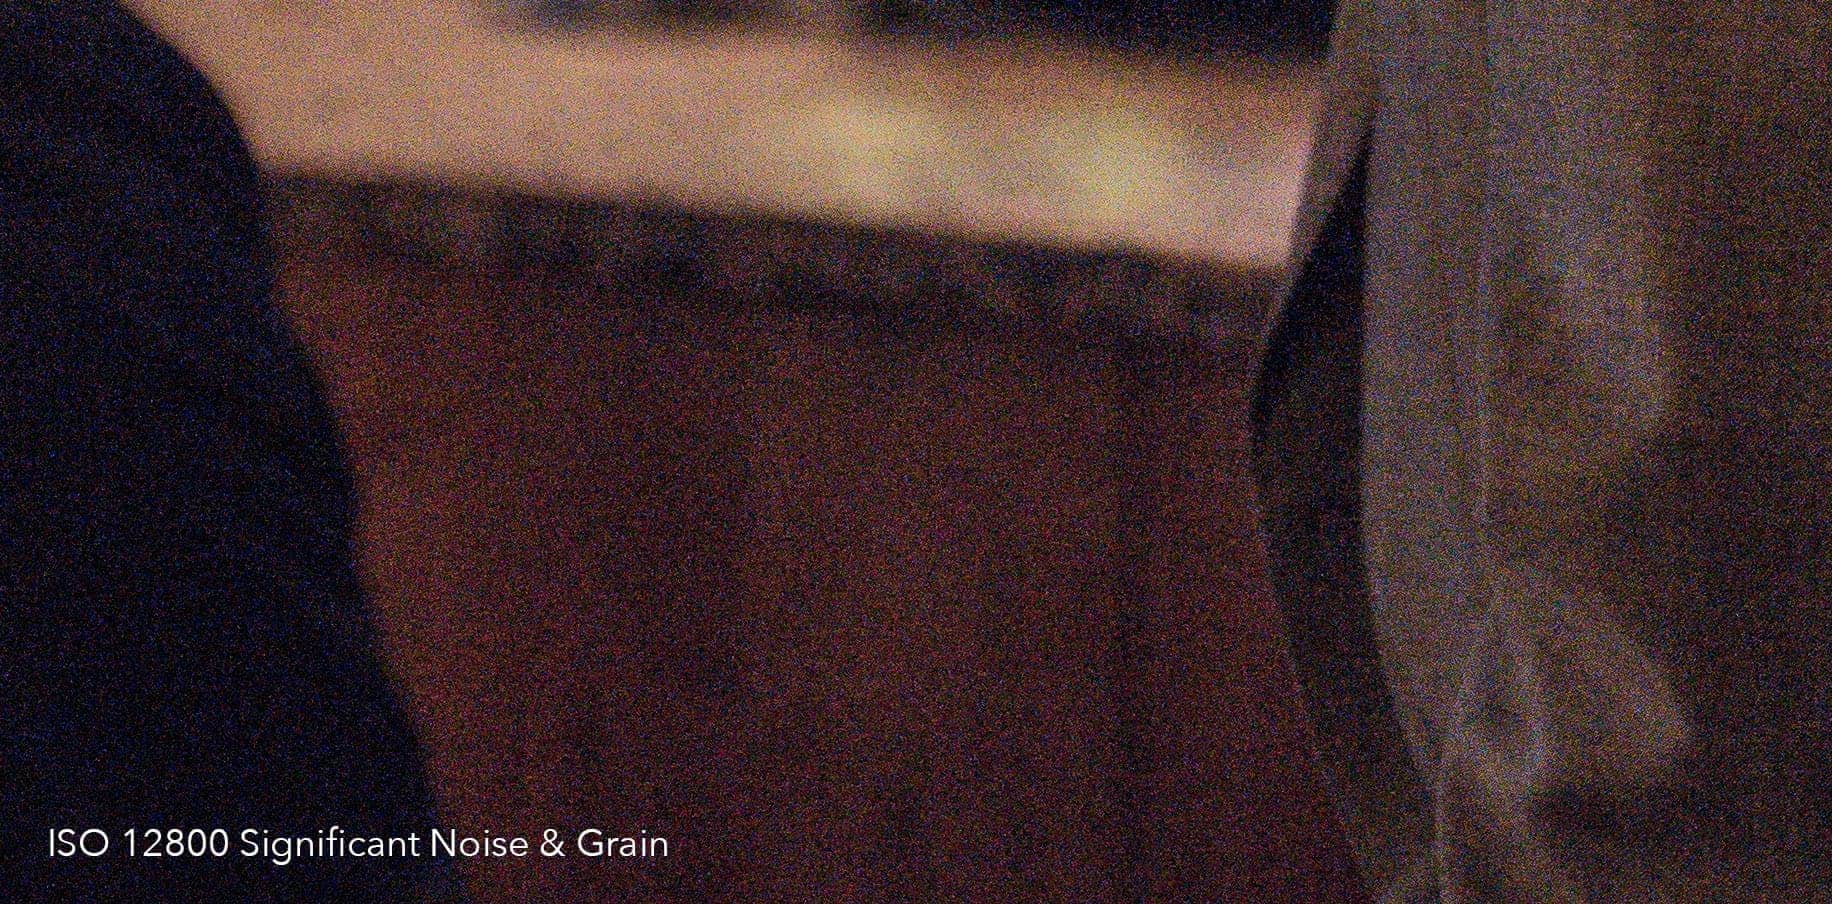
ISO 12800. visible bad grain & noise (prior to noise reduction editing)
ISO – A camera’s sensitivity to light is it’s ISO, or more particularly a camera’s sensor’s sensitivity to light. The standard lowest ISO on DSLRs is 100 (although some cameras can go as low as 25). Each ISO stop is double the previous. When ISO is low the sensor is sensitive to less light which means it will create a crisper sharper image. As the ISO increases the sensor takes in more light but in doing do the image will become noisy and grainy. Noise is untrue specs of colour whereas grain is as it sounds. The amount of noise/grain a camera produces at an ISO will depend on the individual sensor. Entry level DSLRs will produce a lot of grain at 1600 whereas with a top end camera it will be barely noticeable, this gives the higher end DSLRs a wider operational ability in low light situations. Although noise can be removed with software such as Lightroom when at high levels it will distort the true colours of the image. Grain can actually be desirable to an image, but if the focus if off even slightly it will be highly obvious and make the image often unusable.
So you will now know that Shutter speed, Aperture and ISO all affect how much light your camera’s sensor is receiving, you now need to learn how to use them in partnership to create your desired image. There is no right and wrong settings for set conditions as it will very much depend on your individual style. You will get people talking about the ‘sunny 16’ rule and similar and how you must know them. The truth is you don’t but the principle of the rule is relevant. Essentially you need to learn to balance the three. If you want to shoot with a wide aperture in bright sunlight then you will need a low ISO and a high shutter speed. If you want a large focal depth of field you will need to shoot at a narrower aperture therefore to stop the image becoming underexposed you will need to have a slower shutter speed and or a higher ISO. If you alter any of the three by a stop you will need to adjust another in the ‘opposite’ direction by a stop to keep the same exposure.
Don’t panic though you don’t need to decide all three! Modern camera are highly sophisticated pieces of kit and can normally be relied on to decide one of the three factors. Most photographers will work in either Aperture or Shutter priority mode whilst potentially also setting their ISO, others will use Manual mode setting the Aperture and Shutter speed but leaving the ISO to the camera. Lastly some will shoot in full manual specifying all three but this does not work well in busy environments with rapidly changing lighting conditions. Ignore the people that say if you don’t shoot in manual you’re not a real photographer. As long as you understand the concepts and how to shoot in manual it doesn’t mean you have to. I will freely admit the only time I shoot in full manual is for my studio lit portraits when I’m in full control of the lighting.
Finally to help you a little a little chart to illustrate Shutter speed, Aperture & ISO.
