 Have you ever looked at the night sky and just boggled at how many stars there are above? So have I, and I love to photograph them when I have the chance. With the help of a wide angled lens and a tripod you can capture the stars, and even the Milky Way with most DSLR cameras.
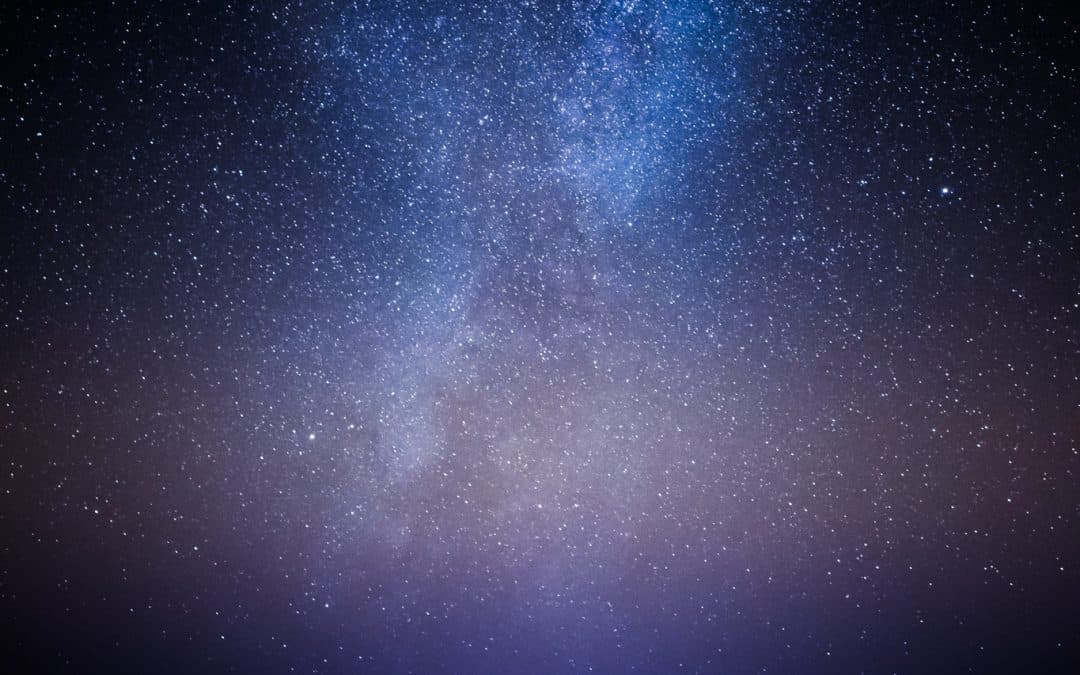
To start you need to get the right location, namely as far as possible away from civilisation! Wherever there are people there are lights which create light pollution which limits how many stars can be seen. There are designated ‘Dark Sky’ locations across the world, and indeed a couple in the UK. There are though several places within the UK where the Milky Way can be seen with the naked eye, which is fairly essential to get a good photo. The Dark Sky Discovery website is great and has a map of lots of locations within the UK. A good location will also involve a long distance to the horizon. If you are in a valley this will limit your field of sky, whereas if at the top of a hill it will be at its maximum. If you are only in a semi rural location the direction you face can greatly alter how much light pollution you experience, so make sure to check which direction is best. Try and have an interesting foreground although a straight horizon can work as the top image shows!

Although clear non light polluted skies are preferable, they can add to an image. The orange is light pollution and there are some light wispy clouds
Once you have found a local rural location it’s time to choose a day. First you will need clear skies weather wise, and secondly you need it to be either a new moon (or as close as possible) or alternatively shoot when the moon is below the horizon. The reason for this is that the moon reflects back light from the sign which reduces how many stars can be seen. You will need to wait for a good hour plus past sunset to ensure it is fully dark as well. A very important point is that in the Northern hemisphere the Milky Way is predominately best viewed February through September. If you go hunting for it in December you are unlikely to be successful!
Now you have your location and day it’s time to start taking photos. If you are in a very dark location you will be able to see the Milkyway with your own eyes and therefore work out the best direction for your camera. If not you can use a phone app like Night Sky or Sky Guide which will show you where stars, constellations and the Milky Way are using the inbuilt compass. It is best to use the widest lens you have especially if you have a crop sensor camera. There are two reasons, firstly to increase the area of sky you can photograph and secondly the wider the lens the slower shutter speed you can without generating star trails. The other important feature of your lens is that it is as ‘fast’ as possible, namely that it has a wide aperture to let in as much light as possible. F2.8 or better is ideal but a photo is still possible with a slower lens (F3.5-4.5) but you may struggle unless in a dark sky location or with a camera with excellent ISO capabilities to compensate.

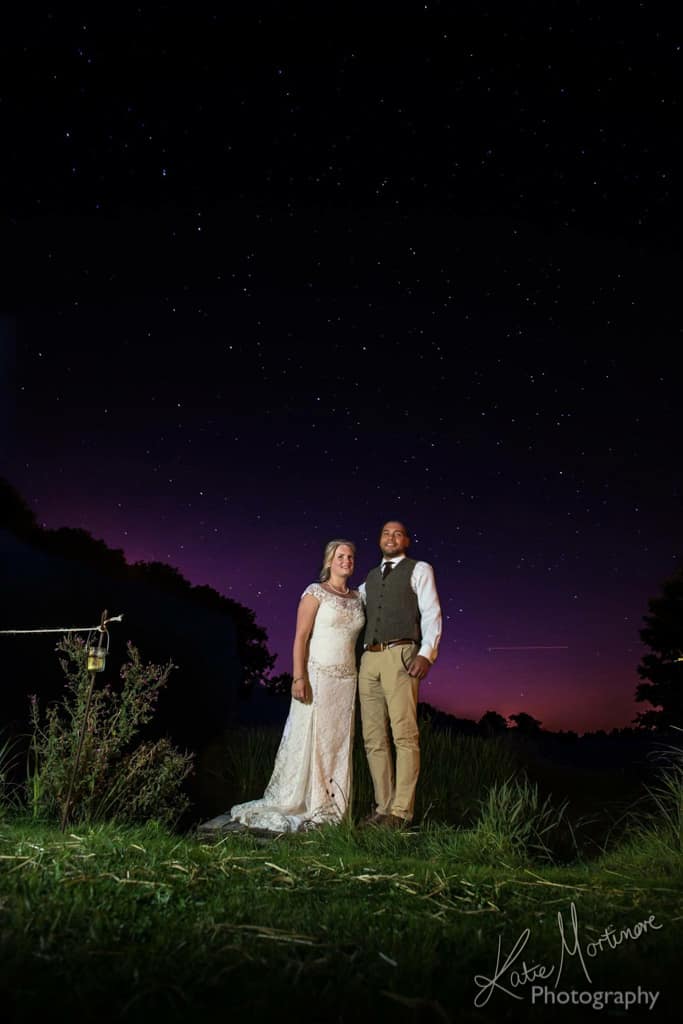
The pink glow at the base of the image is light pollution from a local small town. As it is not overpowering it adds to the image
Set up your camera on your tripod and switch your lens to manual focusing. Make sure the tripod is secure as even the slightest movement will result in a blurred image. To focus your camera set your lens to infinity in manual, you can then use the live view mode zoomed in to ensure the stars are sharp. In live view unless in an extremely dark location it won’t pick up the Milky Way but you only need to zoom in on one of the brightest stars to check the focus. Next switch your camera to Manual mode if you haven’t already, set your Aperture to the lowest available for your lens and the ISO to approx 3200 for a good starting point. Lastly for your shutter speed this will depend on your lens focal length. The wider your lens the slower the shutter speed you can use which lets in more light. It is best to use the “500 rule,” whereby you divide 500 by the focal length of the lens you’re using. So, if you have a 24mm lens on a full-frame camera, you will set your shutter speed to 20 sec. (500/24 = 20.8). If you’re working with a crop sensor camera be sure to account for the crop factor (approx 1.5 for Nikon and 1.6 for Canon). As an example, using the same 24mm lens on a Nikon crop, you will end up with an effective focal length of 36mm (24×1.5 = 36) and then after applying the 500 rule will result in a shutter speed of 13 sec. (500/36 = 13.9).

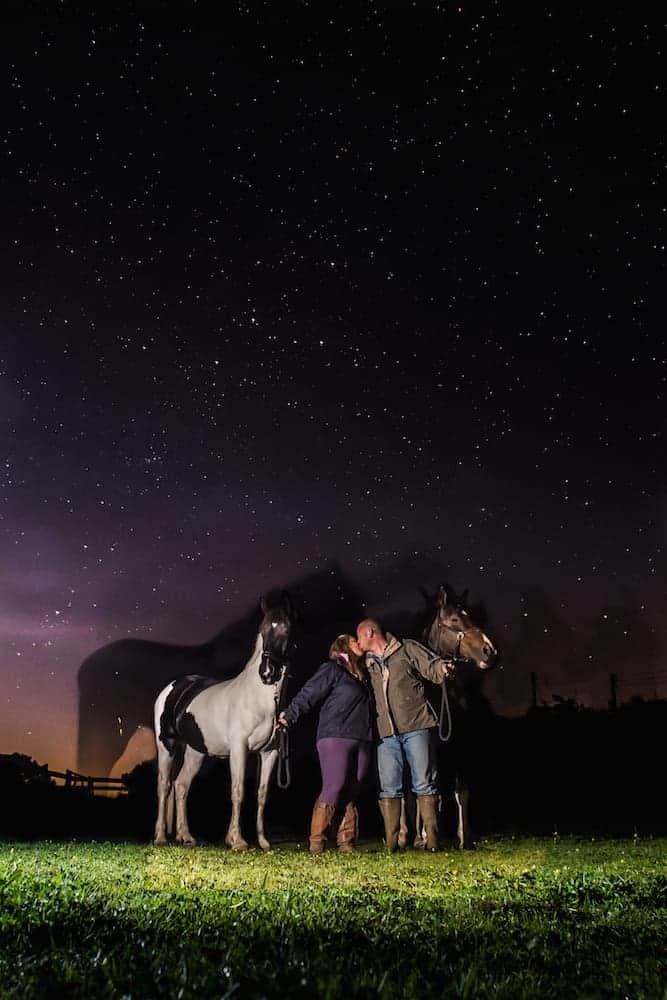
Light pollution hid the majority of the stars but if you view the large version (click to view) and when printed the stars become obvious and created a stunning wedding portrait
Personally I always use either a remote trigger or alternatively the 2 second delay function. This minimises the risk of the pressing of the shutter button creating movement of the camera. Now experiment! Lower and raise your ISO to alter the amount of light your camera lets into the sensor. Higher end cameras will happily be able to go significantly higher ISO wise without loss of quality but entry level DSLRs will struggle which is where a fast wide angle lens will really help you.
Once home you will need to edit your photos. Colour balance often goes astray at night so I would always suggest shooting in raw which will also help you bring out the details of the stars. I tend to set the colour balance to more purples and blues but adjust until you are happy. I normally use just Lightroom to edit my photos, the adjustment sliders, especially clarity, highlights and contrast will help bring out the detail of the stars. If your images are grainy due to high ISO then you can use luminance to help remove the grain.
Hopefully you will end up with some very special images, and if at first you don’t succeed, try and try again. It is incredibly peaceful sitting watching the stars of an evening, just make sure you wrap up warm if it is cold!
At a future date in the Behind the Magic series I will cover how to create star trail photos which involve recording the rotation of the stars around the North Star. For now though if you have any questions do not hesitate to ask.


