I’m often asked about my workflow for editing a photo shoot so let me take you on a whistlestop tour of what I do from taking the photos to delivering the final images. In general I edit photo shoots in the order they take place. The slight exception is weddings which I dip in and out of, and normal shoots taken after may slot in ahead to ensure my eyes are fresh. I turn around ‘normal’ shoots normally within 2 weeks and wedding within 4-6 weeks, whereas event work especially press work will be turned round in hours to hit press deadlines!
Image Storage
As soon as possible after I have finished a photoshoot I copy the files to hard drive and make back ups (see my article about the importance of multiple backups!).
File Order System
I keep the same basic file order system on my hard drives which makes them easy to navigate. I have a ‘parent’ folder for each photoshoot and then various sub folders or the raw and jpg files
Import to Lightroom
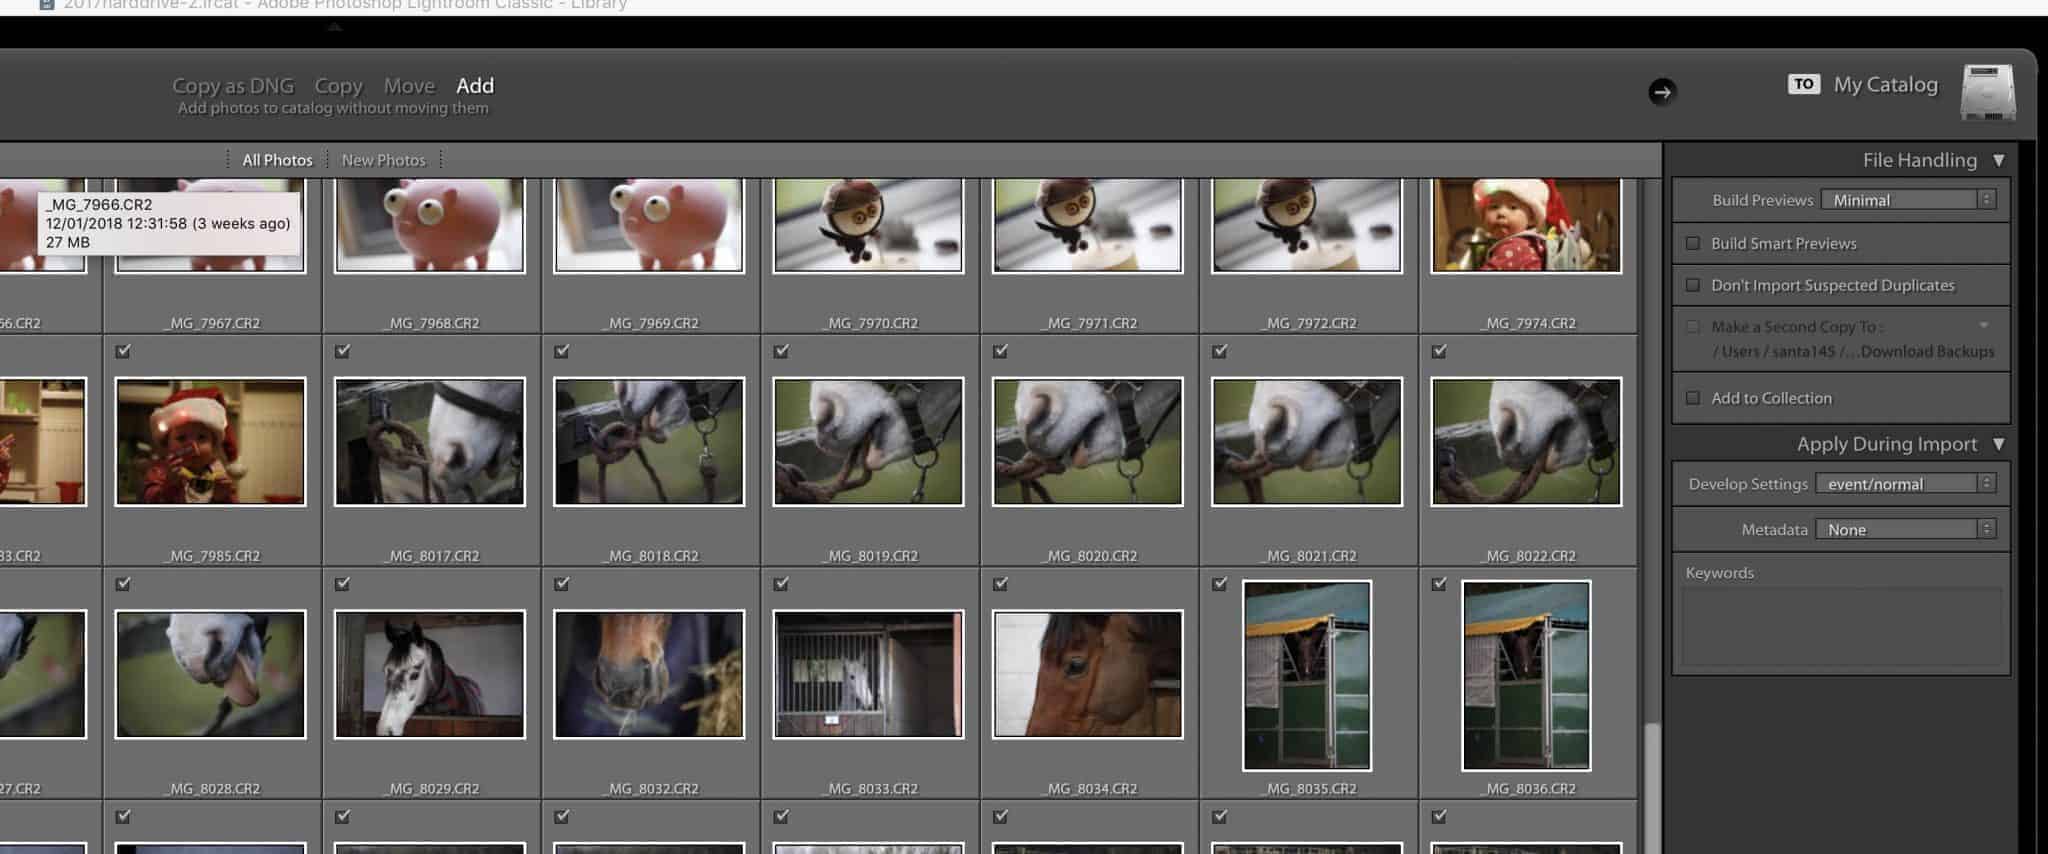
Once the raw photos are saved on my hard drive (and backed up) I import the raw folder into lightroom applying one of my presets and my copyright information. Because I have already set up my folder system Lightroom uses it and doesn’t duplicate the files again.
Cull & Cull again
One of the most time consuming parts of my workflow is the culling process. I’ve previously talked about how I like to deliver quality over quantity so I like to spend time over which images I provide to my clients. I start in Library view and go through selecting the images I think I want to work with. At this point I’m not too brutal and start with a relatively large grid so I can see enough of the image/composition clearly. Now in terms of how I pick images personally I prefer to use the flag option whereby you press ‘P’ to Pick/flag an image and ‘U’ to unpick/unflag an image. There is the option to also select via star ratings or colour as well. There is no correct/best way to do it other than the system that works best for you. Have a play around and see what works for you.
After the initial cull I amend my view to show picked images only, then view the large view in the library module one by one unpicking images as necessary. Also at this point if I find an issue with an image that wasn’t apparently in the grid view such as slightly soft, or eyes closed etc I will return to filters off and look for a similar image without the issue.
Editing
After the initial culls I start editing the images. By using one of my presets at the import stage this greatly reduces the amount of time required to edit some photos. A preset is a base level of instructions to be applied to a RAW image covering things like contrast, highlights and white balance. I have several different presets dependant on the final look I want for an image. Whether it is for press work, studio lit or a portrait photoshoot. Although a preset has been applied each image will normally require a level of tweaking at minimum. For some images, especially event work, this will be a couple of seconds at most but for portrait shoots I can take several minutes per image as I look to perfect the image by cleaning up backgrounds, removing flies and similar. There is only so much that can be done in Lightroom so at this stage into Photoshop and edit as required.
Cull once more
Some people will do another cull prior to editing but I like to see finished images side by side to get the best comparison. I will firstly go through images individually again and if any images don’t work or are not strong enough in comparison to the rest of the photos I will unpick them. I then look for similar photos, I will select similar photos (using command and click on a mac or ctrl and click on PC) and then view then in Survey mode in the Library module (press N or go to view on the toolbar) to compare them. If you double click you can rotate through them in full page view as well. This allows me to unpick duplicate images.
Export
Once I have completed all the photos I will export the images. I normally produce a folder of maximum resolution images and a second of social media sized with my watermark. When exporting I name the files with something relevant to the photoshoot and then use a sequence. The original file names are pointless at this point and it makes it more personal for clients if the files are Sarah-jazz-001.jpg etc instead of _Q9A0706.jpg!
Upload & Backup
I will upload the final gallery to my gallery website which I will deliver to my client whilst also backing up the finished jpg files to my cloud storage
Delivery
Finally I deliver the files to my client. For some this is via a web gallery, for others it will be via a USB or even no digital copies at all with just prints or canvases.


